Installing a meter onto a transmitter is a fairly straightforward process. If you still have questions after watching the video and reading the directions, don’t hesitate to reach out to us at (314) 665-1741.
Step 1: Replace the board
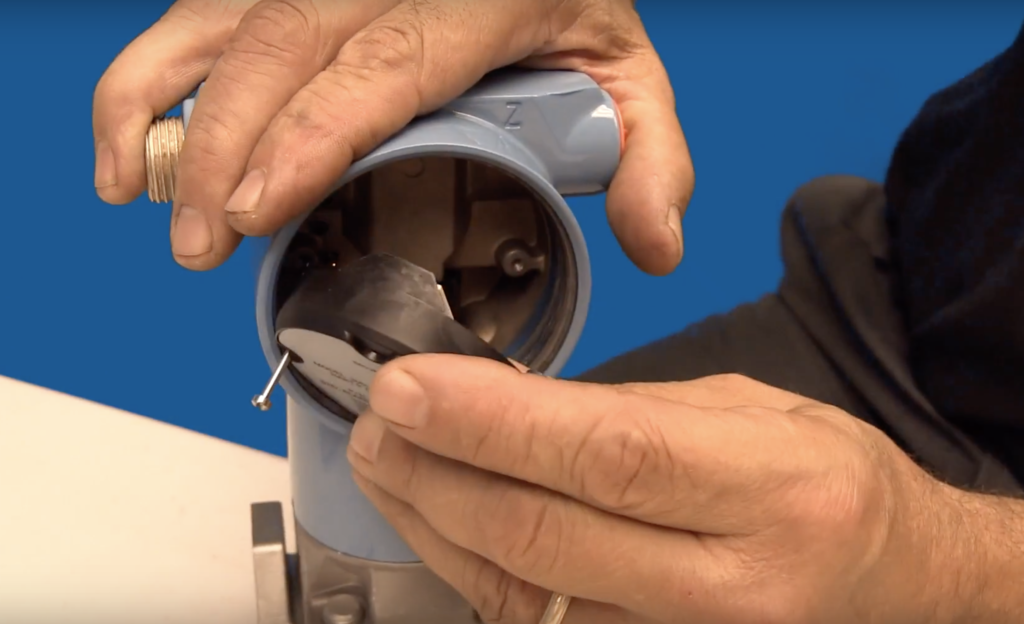
The first thing you need to do is replace the board. To do this, line up the two pins on the board with the cone-holes on the transmitter.
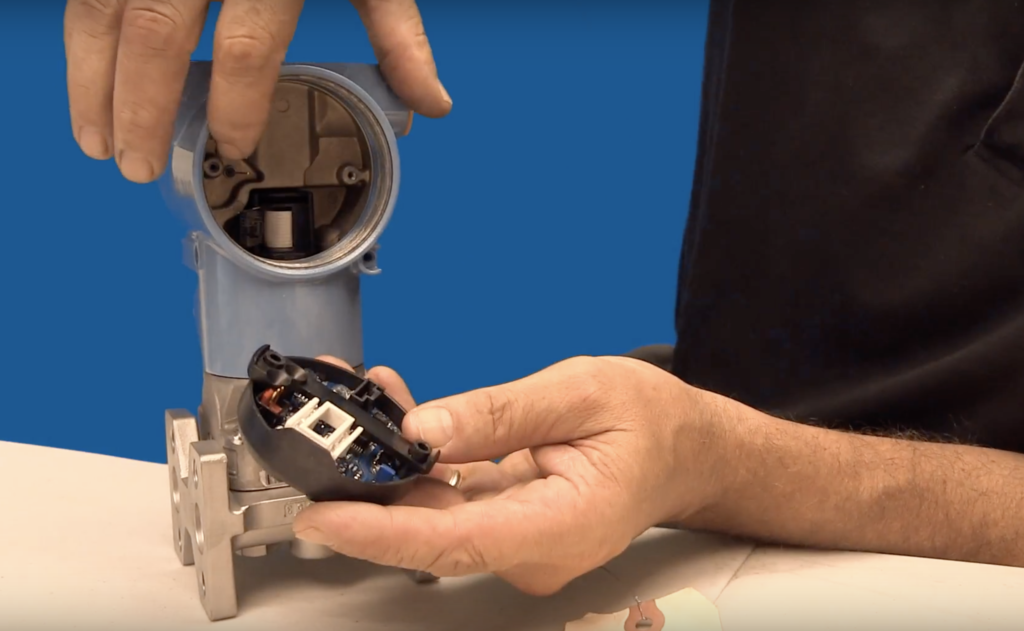
You also need to attach the ribbon from the transmitter to the sensor. Pull the ribbon from the transmitter, push the end of the ribbon into the board until you hear it click, and then tug at the ribbon to make sure it doesn’t pop loose. If you need to unclip the ribbon, decompress the latch and pull it out.
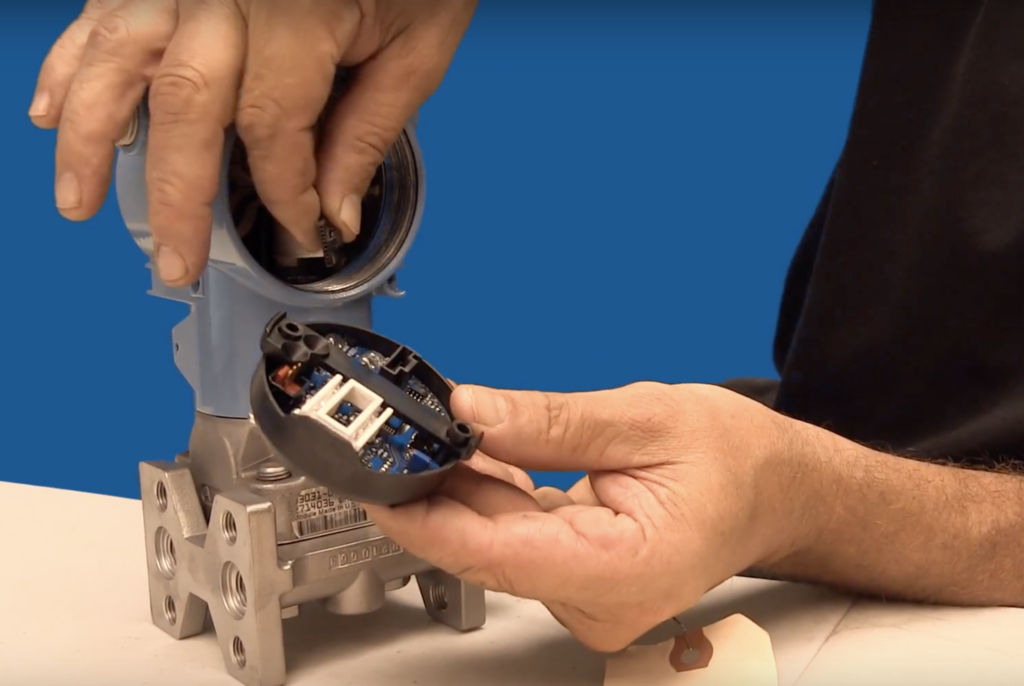
Once the ribbon is in position, line up the pins on the board to the holes on the transmitter and push in the board.
Step 2: Install the meter
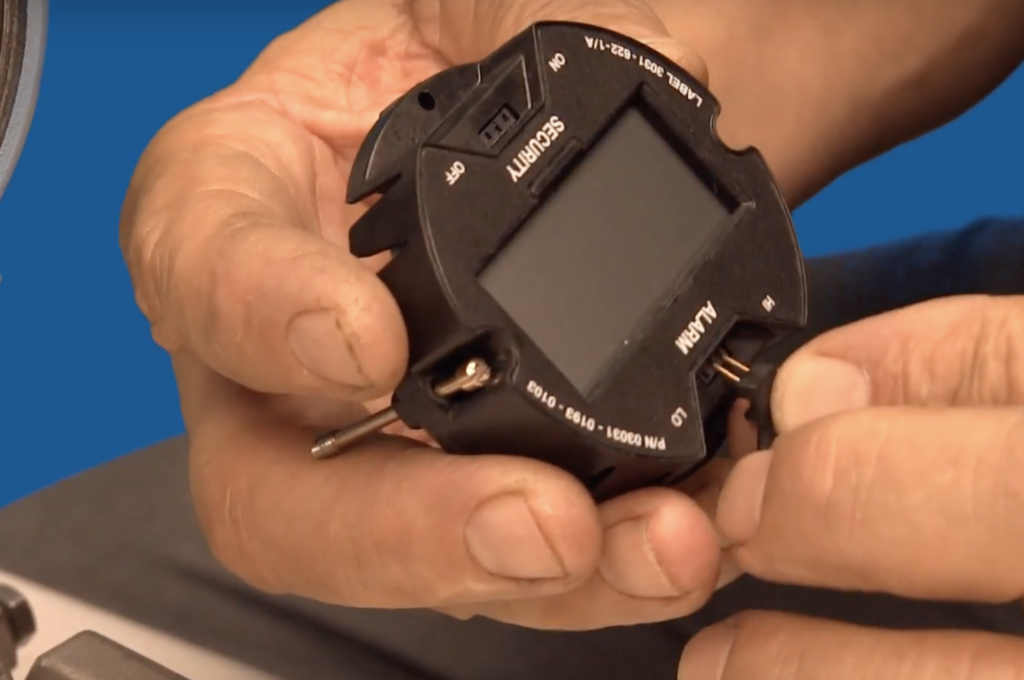
Connect the pin to one of the four spots on the meter — which spot you choose depends on how you intend to mount the transmitter.
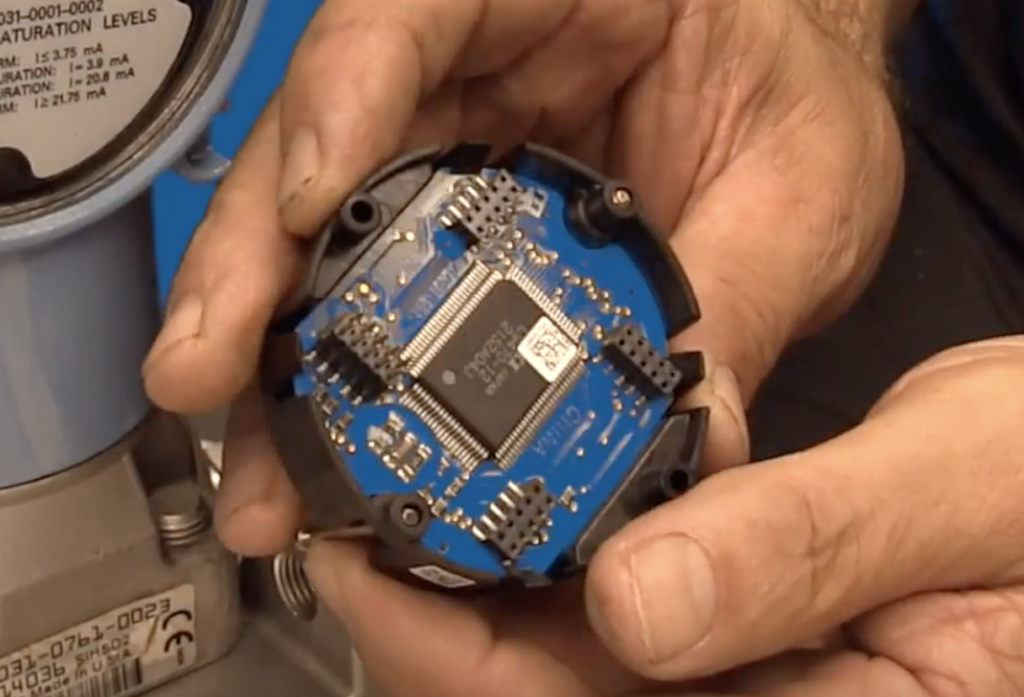
When you push the pin in, make sure you align all the pins with the holes correctly. Otherwise, the meter won’t work.
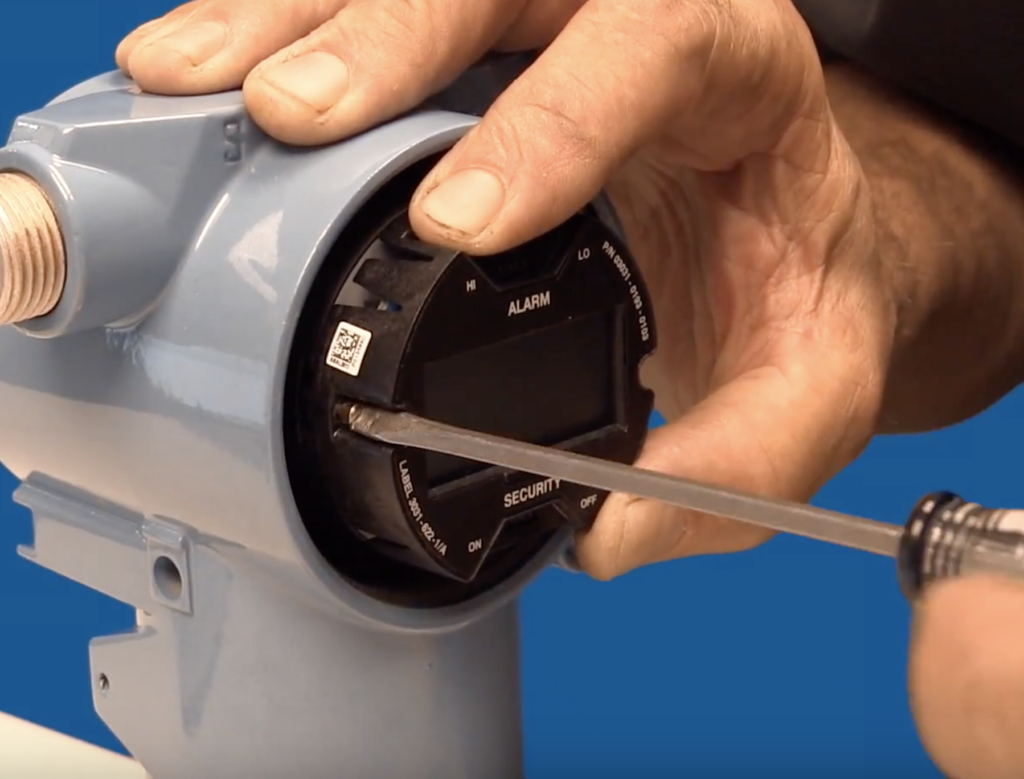
After installing the pins, all you have to do is screw the meter onto the transmitter.
What if my transmitter already has a board?
In this case, remove the shorter screws from the existing board. Then affix the meter with the screws that came with it and move the jumpers to the proper place.